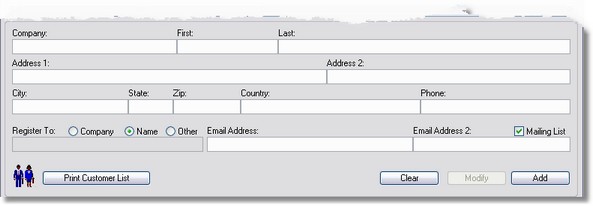
To clear all data from the form before entering a new customer into the database, press the Clear button.

When entering customer information, keys will be generated using the customers name by default.

If you wish for the key to be generated using the customers Company Name, simply select Company in the Register To area.
There may also be times when you wish for the key to be generated using a name other than the customers Name or Company Name. You can do this by selecting Other in the Register To area and entering a custom name. When selecting Other, both Company/Customer Name will be inserted by Default.
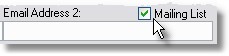
If you would like the customer to appear in the Mailing Lists section of ArmTracker, be sure to check the Mailing List check box.
After you have added all the Customer Information into the appropriate fields, press the Add button to add the information into the database.

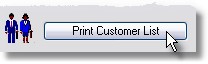
Printing Customer Lists
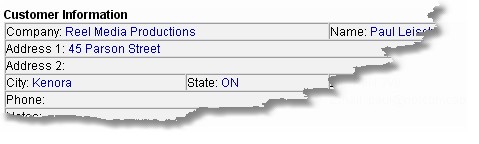
If you would like to print a list of all the Customers in ArmTracker database, press the Print Customer List at the bottom of the Customer Database interface.
You will be presented with the option to Preview the print job or send the data to the printer.
The print layout can easily be customized by editing the text files in the ArmTracker3\Reports folder:
| · | CustomerList_Header.txt
|
| · | CustomerList_Body.txt
|
| · | CustomerList_Footer.txt
|
These files use standard HTML code along with special ArmTracker Macros.